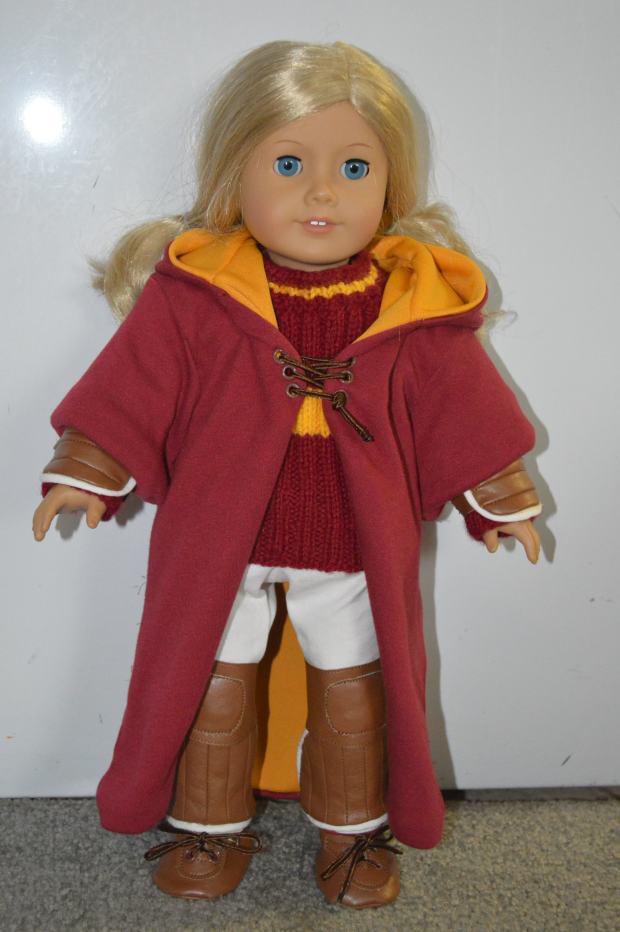
For day 3, we’re going to complete Harriet’s look with her tool belt. The Spy Tools are what take Harriet from looking like a normal kid and transform her into a quirky spy-in-training.
In Harriet the Spy, Harriet “had fixed up the belt with hooks to carry her spy tools. Her tools were a flashlight, in case she were ever out at night, which she never was, a leather pouch for her notebook, another leather case for extra pens, a water canteen, and a boy scout knife which had, among other features, a screwdriver and a knife and fork which collapsed.”
If you’re lucky, you might already have several of these items on hand. I already had a small notepad, pencil, flashlight, and a tiny Swiss Army Knife. You might be able to find some of these items at Dollar Tree as well. My notebook and pencil is from an Our Generation bird watching set from Target that I purchased last year. I’m a little stumped on what to do about a canteen, so I’m leaving it out for now. I’d love suggestions in the comments if anyone has a good suggestion. I did a quick google search and found a diy Vintage Wool Canteen ornament that is pretty dang adorable and could be slightly modified to attach to Harriet’s belt.
For our Spy Tool Belt, I decided to sew the belt and the two pouches for the notebook and pens. Then I added three loops to hang items from the belt – the flashlight, pocket knife, plus a spare for anything your child might want to add.
Materials:
- Pleather, leather, or canvas. (I originally planned on using leftover pleather from making Quidditch shoes and pads, but changed my mind at the last minute and used leftover canvas from Harriet’s high tops. There is no definitive color listed in the book, so you have some flexibility.)
- 2 D-rings Size 1″
- Velcro
- ruler
- tiny notebook (have it on hand when you make the pouch so that you can make sure it fits)
Belt
Cut the material 17.5″ X 3.5″ to fit a 12″ doll waist. (Cut it longer if you want it to buckle over the extra bulk of her sweatshirt.)
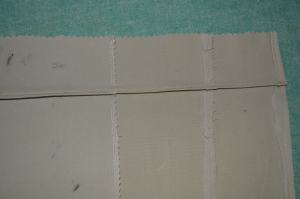
Fold short ends over 1/4″ and sew seams on both sides.


Hotdog fold the material through the middle.
Fold raw edges in towards the midline. Your goal is to make a strip that is just under 1″ wide. Make sure the belt fits through the D-rings.


Sew the seams on both sides of the belt.
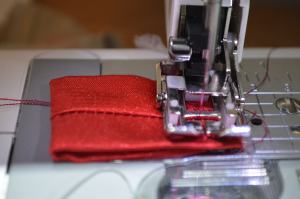
 Feed both D-rings through one side of the belt. Fold belt end to back of belt and sew down. This is quite a bit of material to sew through, so don’t forget to use a heavy duty needle. I hand turned the machine with the Balance Wheel to help it go slowly through the material.
The belt is now done!
Possible Belt Modifications
- You could modify the belt by using Velcro instead of buckles if you want to make it easy and faster for little fingers to attach. The belt won’t need to be as long if you use Velcro because it won’t be folding through the D-rings.
- You could also check out the Trim-by-the-Yard section of your fabric store for cotton belting or webbing to save a a lot of sewing. You can even find webbing at outdoor stores. The belt will also be more flexible and easier to thread through the D-rings.
Pen Pouch
I used the general directions from ‘Make a Leather Bag for Your Doll.’ There’s a great tutorial at this site for making a leather pouch.
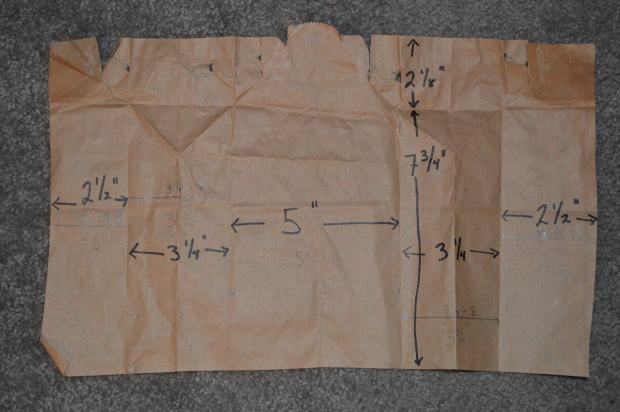
I cut a strip of fabric 6 1/2″ X 1 3/4″
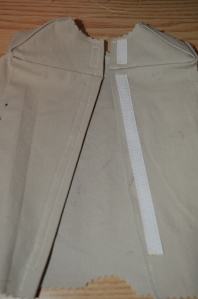
Fold and sew seams at each short end.Fold it to the shape of the pouch. Attach the velcro. If you don’t want the closure to be straight across, you can sew the sides of the flap down at an angle.


Make the belt loop. Cut a piece of fabric 2 1/2″ X 1 1/8″. Fold in thirds and sew edges.


 Fold ends of belt loop under and sew the belt loop to the pouch.
Fold pouch with right sides together. Sew sides. Clip edges and turn right side out.
Notebook Pouch
Follow the same general directions as the Pen Pouch with larger dimensions and two belt loops.
I cut the canvas about 3/4″ wider than the notebook I wanted the pouch to hold.


Find the smallest notebook possible or the pouch will look really big on your doll’s belt. Here is a visual comparison of 3 pouches that I made. The large pouch is on shown on Harriet’s belt for perspective – I think its way too big, so I ended up making a smaller one to fit the bird watching notebook.


Accessories
Cut fabric strips 2 1/2″ X 1/4″. Sew into a loop with wrong sides together and turn right side out. I left these edges raw so that a key chain loop could slide onto it easily. (You could cut the strips wider and then fold them just like we did the belt loops on the pouches. It would look better, but it would make the loop very thick – which would make it very difficult to slide a key chain ring over it.) You could also just slide key chain rings onto the belt and skip this step.
Here is the final product with the two smaller pouches and the accessories attached to the loops. Watch out! Harriet is ready for her spy route!


 Harriet the Spy by Louise Fitzhugh is another classic in children’s literature. Harriet is very much flawed and provides great discussion with your child about honesty, friendship, ambition, and exclusion. She reminds me of my best friend at this age – appearance, personality… even stories she wrote about our teachers. And, of course, I think everyone can relate to Harriet on a certain level – who didn’t go through a phase of wanting to be a secret agent? Who hasn’t felt like an outsider at some point in life?


 Kiki has a lacy pair of bloomers that peek out from under her dress as she flies her broom.
 Materials:











 I folded the fabric in half and cut it symmetrically.


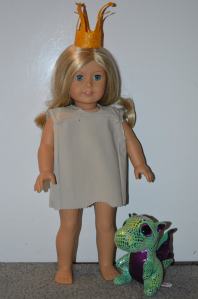

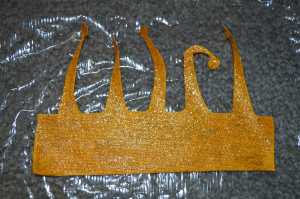
 Glue or sew the two ends. I used a glue gun.
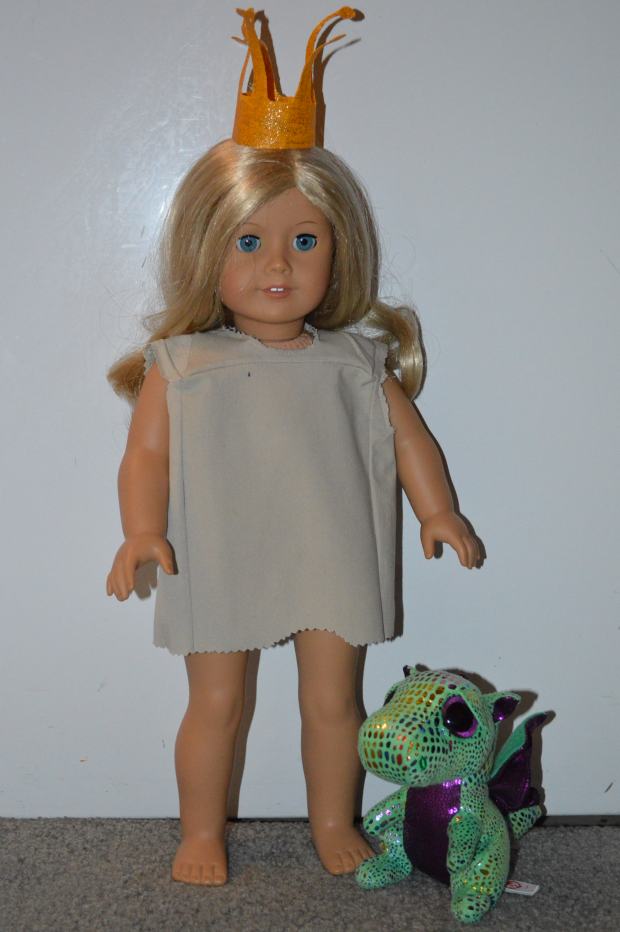
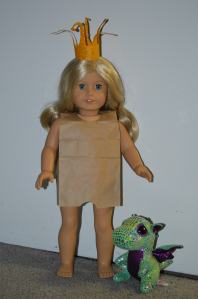 The painted canvas is stiff enough to hold the prongs up, but flexible enough to be bent down to get the ‘melted’ look of Princess Elizabeth’s crown.